Monday, September 19, 2016

Factory Scope v. Member Scope

iParts and iAssemblies in Inventor are a great way to create a collection of parts or assemblies that are similar but have a certain amount of uniqueness.  I have created several videos that demonstrate how to create and work with iParts.  One topic that I have not mentioned before is Factory Scope v. Member Scope.  I think this is information can be very valuable when working with iParts and iAssemblies.

Recently, I was working with a customer while he was adding a member to an iPart.  He continually jumped between sketches and feature and the iPart table.  We was checking the names and values of dimensions, then going to the table and changing the value for the new member.  After doing that a few times, he asked me, "Is there any way I can change the values in the model without having to go to the table?"

To which I replied that there was.  I pointed him to the Factory Scope/Member Scope setting.  For users that are not familiar with the purpose of this setting, it allows a user to specify if a change is for the entire factory(all members) or for a specific member.  By default Inventor is set to Factory Scope, that means as the user changes the model, those changes are applied to all members.  If the user changes that setting to Member Scope, the edits that the user performs are applied only to the active member of the iPart family.

Member Scope works great for editing the parameters already on the table, but also can be helpful when controlling feature suppression.  You are allowing Inventor to control and edit the table for you as you make changes.  It is really interesting to see the impact on the table as features are added while in Member Scope.  All the user has to do is add the necessary feature(s) and Inventor will handle adding the parameters and feature controls to the table.

Here is a Screencast that demonstrates the Power of Member Scope:

Tuesday, August 16, 2016

Configuration in the Hands of Your Customers

Autodesk has such a big library of products, it is difficult to keep tabs on all the products and what they do.  When I first saw Configurator 360 at AU several years ago, I was impressed.  At the time the product was new and Autodesk has developed the product significantly since its introduction.  I think it is a great product and can be useful to a lot of companies, so I have been spreading the word about Configurator 360.


Configurator 360 allows Inventor users to upload configurable models to a web site.  That web site can then be shared with customers or sales staff.  Customers then can customize the model and download their model and request a quote for it.  The main types of models that users upload are designs with iLogic Rules, but the model can be just a parameter driven part.  


The Configurator 360 site administrator can control a wide variety of preferences for all models or specific to designs.  For example, customers can download their customized design in a variety of formats, everything from STEP and IGES to Catia and Revit files, along with the native Inventor model.  The site administrator can pick and choose which file formats users are permitted to download.  I strongly recommend disabling the Inventor download because those files will contain the intellectual property of your company.  However, I have set as a possible download on my demo site, just to show the exhaustive list of downloads.

Here is a video I made that gives an overview of the Inventor to Configurator 360 workflow.


Here is a line to a design that I typically use as a sample for iLogic and Configurator 360


Autodesk has done a lot of development around the quoting capabilities of Configurator 360.  They have made incremental changes along the way.  Now, users are able to upload a quote template, complete with images of the customized design.


One of my favorite functions of Configurator 360 is the Accessories.  This allows users to author components as optional accessories.  The process starts in Inventor by creating a Joint between the main design and the optional component.  The Configurator 360 Add-in for Inventor will help split the Joint definition to the two models.  After both are uploaded, users can drag and drop the accessories on to the design, and the Joint definition will place the optional component on the assembly.

This link is to a design that includes accessories.

If you are selling customizable products Configurator 360 would be a great addition to your CAD tools.

Tuesday, July 19, 2016

Autodesk Fusion 360: Inventor's Little Brother?

Have you heard of Autodesk Fusion 360?  It has been around for a lot of years, but some people still have not heard of it or don't know much about it.  Autodesk has launched several programs to drive up awareness and usage.  I have been using Fusion 360 off-and-on since it's launch.  One reason I did not fully utilize it right away was because I didn't see how this could be an improvement over Inventor.  I have realized that I was misinterpreting its purpose all along.

I always call Fusion 360 "Inventor's Little Brother."  That is because its root function, 3D modeling, is so similar to Inventor, so much so that  I was able to use Fusion 360 right away.  There are a few difference between the two.  For example, Fusion 360 only has two file times F3D and DWG.  Anything 3D, part or assembly is modeled in a F3D file.  The 3D environment is similar to Inventor's multi-body parts.  

Another reason that I call Fusion 360 "Inventor's Little Brother," is that it could not do everything that Inventor could do.  That has changed over time.  I still feel that Fusion 360 is not a replacement for Inventor, but it does have a place in the 3D modeling and manufacturing world. 

Who can get the most out of Fusion 360?

The strongest usage category is in education.  I have mentioned before that I have been working with my home-schooled children to teach them Inventor.  Realizing that Fusion 360 would have been easier to teach them, I wish I could go back and start teaching them Fusion 360 instead.  Because of the similarities between Inventor and Fusion 360, I see students using Fusion 360 developing skills that will transfer to Inventor after graduation.

Fusion is also a great tool for home-use.  During classes, I am often asked if it is possible to use Inventor at home.  Students either need to take work home, or want to use Inventor to design home projects, such as decks and home improvements.  The commercial license of Inventor does have provisions for users to have a license for home-use.  One issue that most users face is that their home computer is not powerful enough to run Inventor.  Fusion 360 is well suited for the home projects. The product is free to start-ups, hobbyists,  and enthusiasts.  So Fusion is a great tool for designing your deck, home addition, or your idea for the next big thing.

Can I use Fusion 360 along Inventor and AutoCAD?

Lost of users do not know that Fusion 360 is actually included in their Product Design Suite.  It is just a matter of the Software Administrator granting access to that product through the Subscription Center.  I am disappointed that Fusion 360 will not read an Inventor IPT directly.  I has to translate the file.  If going from Fusion 360 to Inventor, users have to export to a generic format.  I recommend STEP for this.  However, Inventor's Direct Editing commands can be used to modify the model if necessary.

I do see some great workflows for 3D AutoCAD users.  I usually try to talk people out of doing 3D modeling in AutoCAD because it can be a headache.  However, with Fusion 360 modeling is significantly easier.  Now that users can create drawings in Fusion 360, I see that it would be easier for users to model their parts in Fusion 360, start the drawing in Fusion, then export to a DWG that they can finish in AutoCAD.

What is Fusion 360 capable of?
Fusion 360 has a lot of functions that Inventor does have.  There are a few limitations when you compare the two head-to-head.  However, Fusion 360 can perform all of the following:
  • 3D Modeling, including Free Form Modeling
  • 2D Documentation of models
  • Finite Element Analysis
  • Rendering Images
  • Animations
  • CNC Tooling
The bottom line is that Autodesk has put a lot of development effort into Fusion 360.  Even if you do not qualify to use the product for free, Fusion 360 is only $300 per year.  It is capable of performing most of the operations that designer would need with a small price tag.

Here is a Screencast I made that demonstrates Fusion 360's capabilities.

Monday, June 20, 2016

My ASME iShow Experience

Last week, I had the privileged of attending the ASME iShow.  For anyone not familiar with the ASME iShow, it is a design competition for socially conscious products.  My role at the show was to offer consulting on how Fusion 360 could help the teams design their products.  

This year the ten finalists had a wide array of products that would impact people in multiple different ways.  Below is a list of the finalists:

MOTI
MOTI is an IOT device that will help people live happier lives, one habit at a time.

PayGo Energy
The Pay Go Smart Meter will help people in developing countries buy clean burning fuel on a pay-as- you-go basis.

Agua Pallet
Agua Pallet is a pallet that can deliver aid, then be converted into a hand cart for transporting water and other goods.

Otter Warmer
Otter Warmer is a newborn conductive warmer designed to treat premature newborns vulnerable to hypothermia.

The CRAPPER
The CRAPPER is an affordable, water-less composting toilet that will safely treat human waste.

NODE
NODE is a low cost, GSM/GPRS enabled, Arduino based, rugged universal data monitoring unit.

Stove Trace
Stove Trace is a cloud-based remote monitoring system for clean cook-stoves, and offers financial incentives to rural households to use the clean cook-stoves.

AMPARO
AMPARO is redefining prosthetic care by creating a socket that is easier to fit, thus shortening the wait time for prosthesis.

Hydorsac
The Hydrosac is a flexible hydroponic/aquaponic system.

Buoy
Buoy is a connected whole-house device that gives homeowner's leak detection and detailed data on water consumption.

PayGo Energy, AMPARO, and Buoy received grants to further their work.  All of the products at the show were all deserving of recognition for the impact they could make to society.  All the teams received great advise from a host of experts on how to get these products to market.  I really enjoyed the product pitches on Thursday afternoon.  I like the show Shark Tank, and the pitch process was a lot like that.


Friday, June 17, 2016

Current Survey Technology: Part 3 The Results

It does pain me to say that I was not able to get a good model from the drone photos that day.  I really wanted to post the model and say, "Look what we were able to do!"  But we were not able to get that model.  I would not say that the efforts were wasted in anyway.  As long as you learn lessons to improve your process and efforts in the future, the project is not a failure.

So what are the lessons we learned?

Lesson #1:  You need more than 31 photos

I always try to get a minimum of 50 photos.  ReCap's maximum of 250 photos really is best.  I got about 31 then let my son fly the drone.  His flight ended in a tree, and it took us about 30 minutes to get the drone down.  I guess we could have try to fly again.  However, I only have two batteries and was worried that I was low on power.  The model of drone I have behaves poorly when low on power.
Lesson #2:  Pick Frisbees of VERY different colors

When I grabbed a Red and Pink Frisbees, I thought they they may seem too similar in the photos.  Then I thought that because the colors were significantly different I would be okay.  From the vantage point of the drone, with the sun glaring off the them, it was at times difficult to tell the red from the pink.  If I had trouble, I have to assume the software had trouble with telling them apart.

Lesson #3:  My hobby quality drone does not fly stable enough for this process

I love drones.  For me the appeal is equally how much fun they are to fly and the aerial photography and videos.  My drone is so light and is at the mercy of the wind.  We only had 6 MPH winds that day and my drone was still pushed very strongly by the wind.  Most professional quality drones have GPS and flight planning abilities.  Where those are not a mandatory feature for this process, they can make it easier to fly the site and can improve the quality of the results.

Lesson #4:  My kids love to run around A LOT

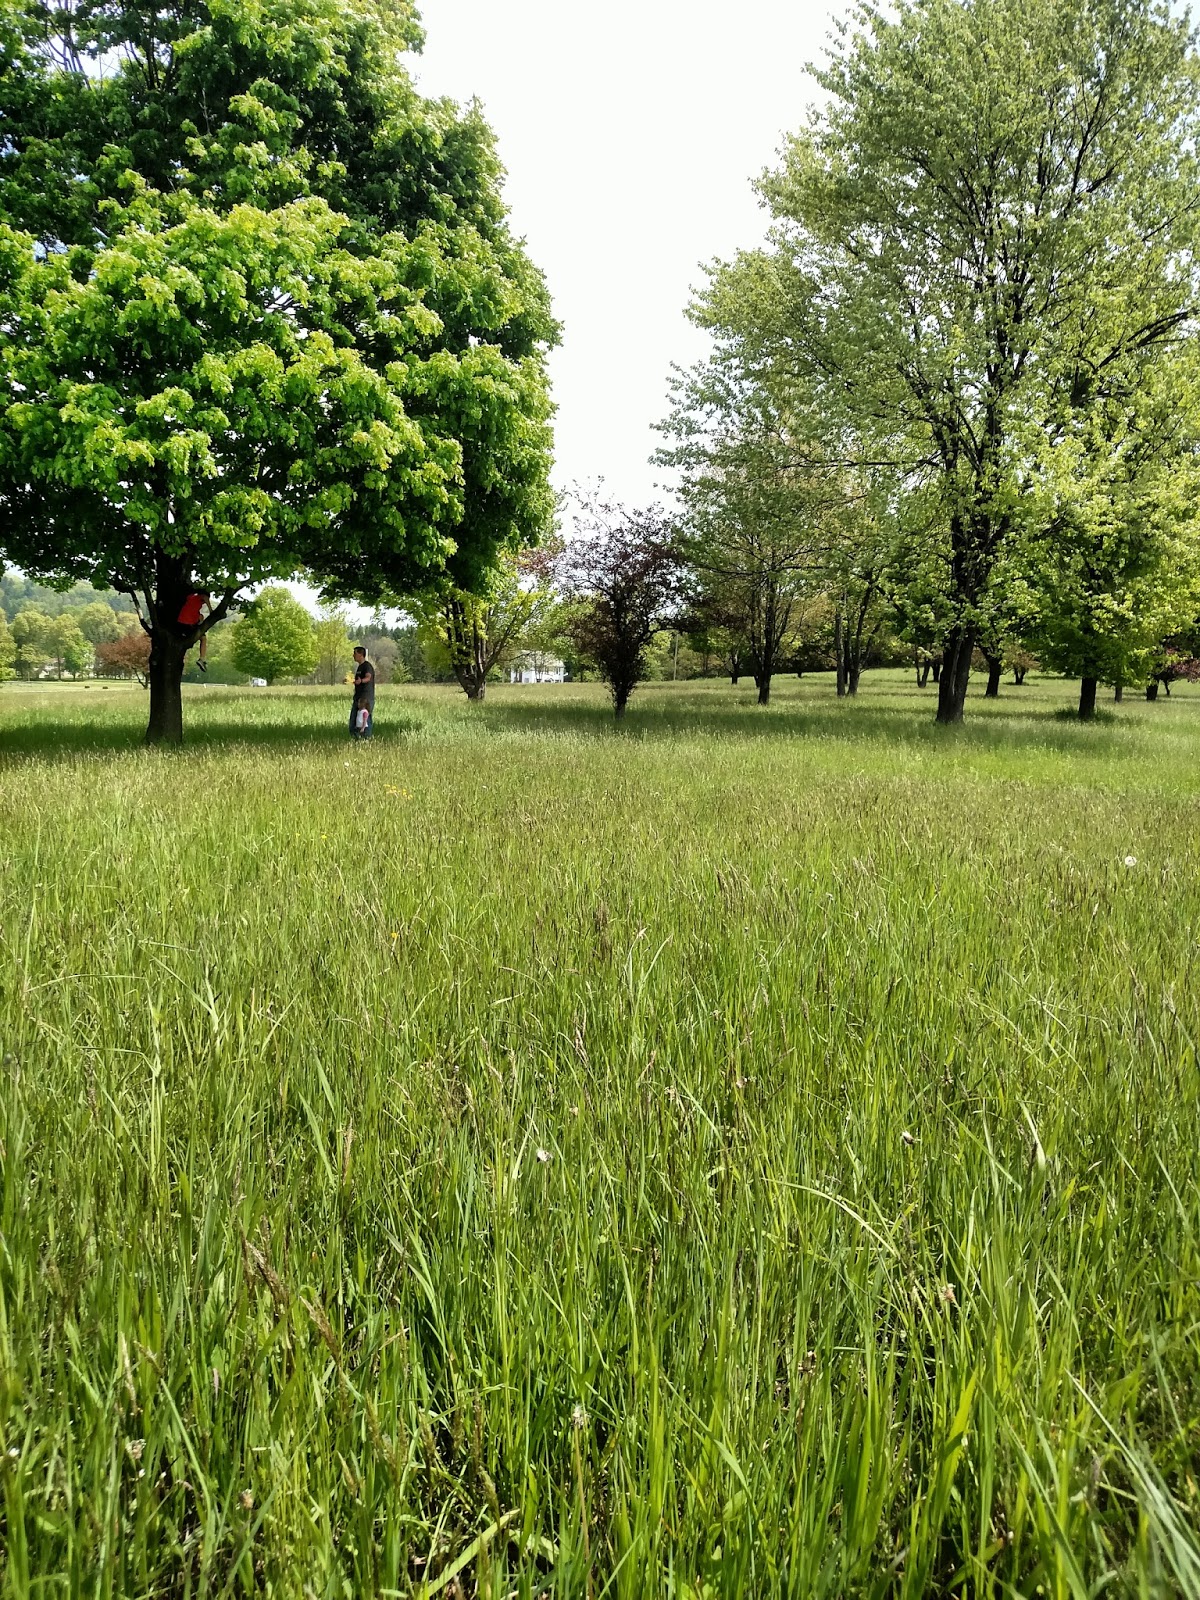
If you look in the photos, my kids did not stay in one place.  In fact, they were all over the field, and I have the pictures to prove it.  ReCap has no way to filter out my daughter in the photos and work around her.  To ReCap she is a feature in the field and tried to match and her surroundings in the photos.  So as she went from end to end of the field, ReCap was assuming she was stationary, and this movement confused the results.  For ReCap to work right, you really want to try to keep the area clear, as much as reasonable.  If I had 250 photos, the movements by my daughter would not have confused ReCap as much.

I was so disappointed that I did not get some really meaningful results.  I know the process works, I have seen the process work.  I guess it is safe to say that you will not be seeing any advertisements for Olson & Kids Surveying anytime in the future.  Well maybe if I can convince my wife to let me get a professional quality drone...Just kidding.

Thursday, June 2, 2016

Current Survey Technology: Part 2 Data Processing

The Processing of the Data is pretty simple, thanks to the ReCap 360 Pro workflow.  On the ReCap 360 Pro website, I can start a new "Photo to 3D"  project.  All I have to do is upload the photos identify the control points.

When I pick a control point in a photo, I can then enter the coordinates for that point.  I can even enter the information in Latitude, Longitude, and Elevation format.  In my case, the MapIt - Mobile app gave me the Latitude and Longitude, so I had to use the USGS website to get the elevations for my control points.

When identifying the control points, it is feasible to identify the points in as many photos as possible.  I have tried this in the past, and it has really overloaded the system.  Autodesk's official opinion is that you are to let the software auto register the photographs.  Which is what I would do if I was not trying to properly geolocate the model, and have it scaled properly.  So I try to identify the control points in about 3 photos.

After the manual registration process, I can pick my output file types and let the system process the model.  When it comes to output files, I always pick RCS and ORTHO for Survey based models.  The RCS can be loaded into the ReCap desktop application.  I will sometimes include the RCM, which is the Autodesk Memento file format.  I will occasionally include this so I have it if I want to load the model into Memento.

Here is a Screencast that demonstrates the process.

Wednesday, May 25, 2016

Current Survey Technology: Part 1 Data Collection

The current landscape of survey and survey technology is dramatically changing very quickly. What used to take crews of highly skilled individuals days or weeks to accomplish can be achieved in minutes, with one or two individuals. I thought it would be fun to take the next couple blog posts and outline what is possible with the current technology, and how this can be done with smaller crew of people with a different skill set.

 I was especially excited for this topic because it blends a lot of my passions together. I am a little bit of a technology junkie. I am always interested to see the newest technology and ways are using said technology. This topic also gives me the opportunity to fly my drone.  I caught the drone bug when working with a customer on a project.  Now, my son and I both have drones. Don't worry, I am fully complaint with the current drone laws. Lastly, my kids are very interested in what I do. My two oldest are home-schooled and a small part of their curriculum is what we call "CAD with Dad." CAD with Dad is time we set aside for me to teach them what I do. My oldest (12) has been using Inventor for over a year now, and my middle child (7) has about 6 months of experience.

This post is going to be dedicated to the data collection phase of our project.

The Team


Steve (Me)
My Son (12)
My Older Daughter (7)
My Youngest Daughter (2)

So you can see that, I am the only experience person on the team.  I have zero experience with traditional survey techniques, but I have seen the process many times.  I have a very good understanding of the key steps of a survey using the newest technology.  Realistically, my youngest was along for the ride, and she gets really upset when anyone goes somewhere without her.

Our Equipment 
My Cell Phone
The main role of my cell phone is to use a GPS App that would give me the coordinates of a few select points.  In this case, I used MapIt Mobile.

My Drone


My Drone is a Syma X8G.  It is a toy/hobbyist model.  I got it from Amazon.  I does not have any GPS or First Person View (FPV) capabilities.  So it is nothing special, there are a whole host of models that are better suited for this type of procedure.  However, this was a good model that fit into my budget and is a lot of fun otherwise.

Different Colored Frisbees


This is a key element to the process, but they do not need to be Frisbees.  It is important to have points with known coordinates.  I chose to mark them with Frisbees, but anything would work.  It just so happens that we had some Frisbees laying around that were different colors.  I feel that it is good to have them be uniquely identified.  The software will work better when it can tell the difference between your markers.  Frisbees are great because they lay flat, and will not give you a raised section in your resulting point cloud.  I have also seen people use the lids to 10 gallon buckets or a large white X on the ground.  If you plan on flying an area multiple times, it will be beneficial to have the markers held in place in some fashion.  Spray painting markers are a good idea as well, there is just the issue of the how permanent the paint will be.  In some smaller projects, I have used round stickers.

The Job Site
There is a nice open field less than a 1/2 mile from where we live.  I figured that would be a nice open field to perform this task on.

The Process
We laid out the Frisbees, being careful to note the coordinates of the Frisbee locations.  My youngest wanted to pick them up and move them, which would not be a problem for a typical survey crew.  We then flew the drone over the site, trying to make sure that we got the Frisbees in as many shots as possible.  Since my drone does not have the First Person View (FPV) capabilities, we had to just hope that we got them in the pictures, which we did pretty good.  For some extra shots, I had my 7 year old, take some pictures with my cell phone.

My goal was to get as many shots as I could.  ReCap has a limit of 250 photos per task.  In our attempt we did not get nearly that many for two reasons.  One my drone is so light, it gets pushed by the wind pretty severely, so it was hard to control it around the project site.  The other reason is that my son, how is a pretty experienced drone pilot, flew the drone into a tree and got it stuck.


These two issue are examples of why a professional quality drone would be best for these tasks.  With drones that have GPS capabilities, users have the ability to program a flight plan, and the drone will fly itself.  Also, these drones can take measures to adjust to stronger winds.

In my next post, I will talk about the procedure to take the photos into ReCap 360 to generate a point cloud.