I was especially excited for this topic because it blends a lot of my passions together. I am a little bit of a technology junkie. I am always interested to see the newest technology and ways are using said technology. This topic also gives me the opportunity to fly my drone. I caught the drone bug when working with a customer on a project. Now, my son and I both have drones. Don't worry, I am fully complaint with the current drone laws. Lastly, my kids are very interested in what I do. My two oldest are home-schooled and a small part of their curriculum is what we call "CAD with Dad." CAD with Dad is time we set aside for me to teach them what I do. My oldest (12) has been using Inventor for over a year now, and my middle child (7) has about 6 months of experience.
This post is going to be dedicated to the data collection phase of our project.
The Team

Steve (Me)
My Son (12)
My Older Daughter (7)
My Youngest Daughter (2)
So you can see that, I am the only experience person on the team. I have zero experience with traditional survey techniques, but I have seen the process many times. I have a very good understanding of the key steps of a survey using the newest technology. Realistically, my youngest was along for the ride, and she gets really upset when anyone goes somewhere without her.
Our Equipment
My Cell Phone
The main role of my cell phone is to use a GPS App that would give me the coordinates of a few select points. In this case, I used MapIt Mobile.
My Drone

My Drone is a Syma X8G. It is a toy/hobbyist model. I got it from Amazon. I does not have any GPS or First Person View (FPV) capabilities. So it is nothing special, there are a whole host of models that are better suited for this type of procedure. However, this was a good model that fit into my budget and is a lot of fun otherwise.
Different Colored Frisbees

This is a key element to the process, but they do not need to be Frisbees. It is important to have points with known coordinates. I chose to mark them with Frisbees, but anything would work. It just so happens that we had some Frisbees laying around that were different colors. I feel that it is good to have them be uniquely identified. The software will work better when it can tell the difference between your markers. Frisbees are great because they lay flat, and will not give you a raised section in your resulting point cloud. I have also seen people use the lids to 10 gallon buckets or a large white X on the ground. If you plan on flying an area multiple times, it will be beneficial to have the markers held in place in some fashion. Spray painting markers are a good idea as well, there is just the issue of the how permanent the paint will be. In some smaller projects, I have used round stickers.
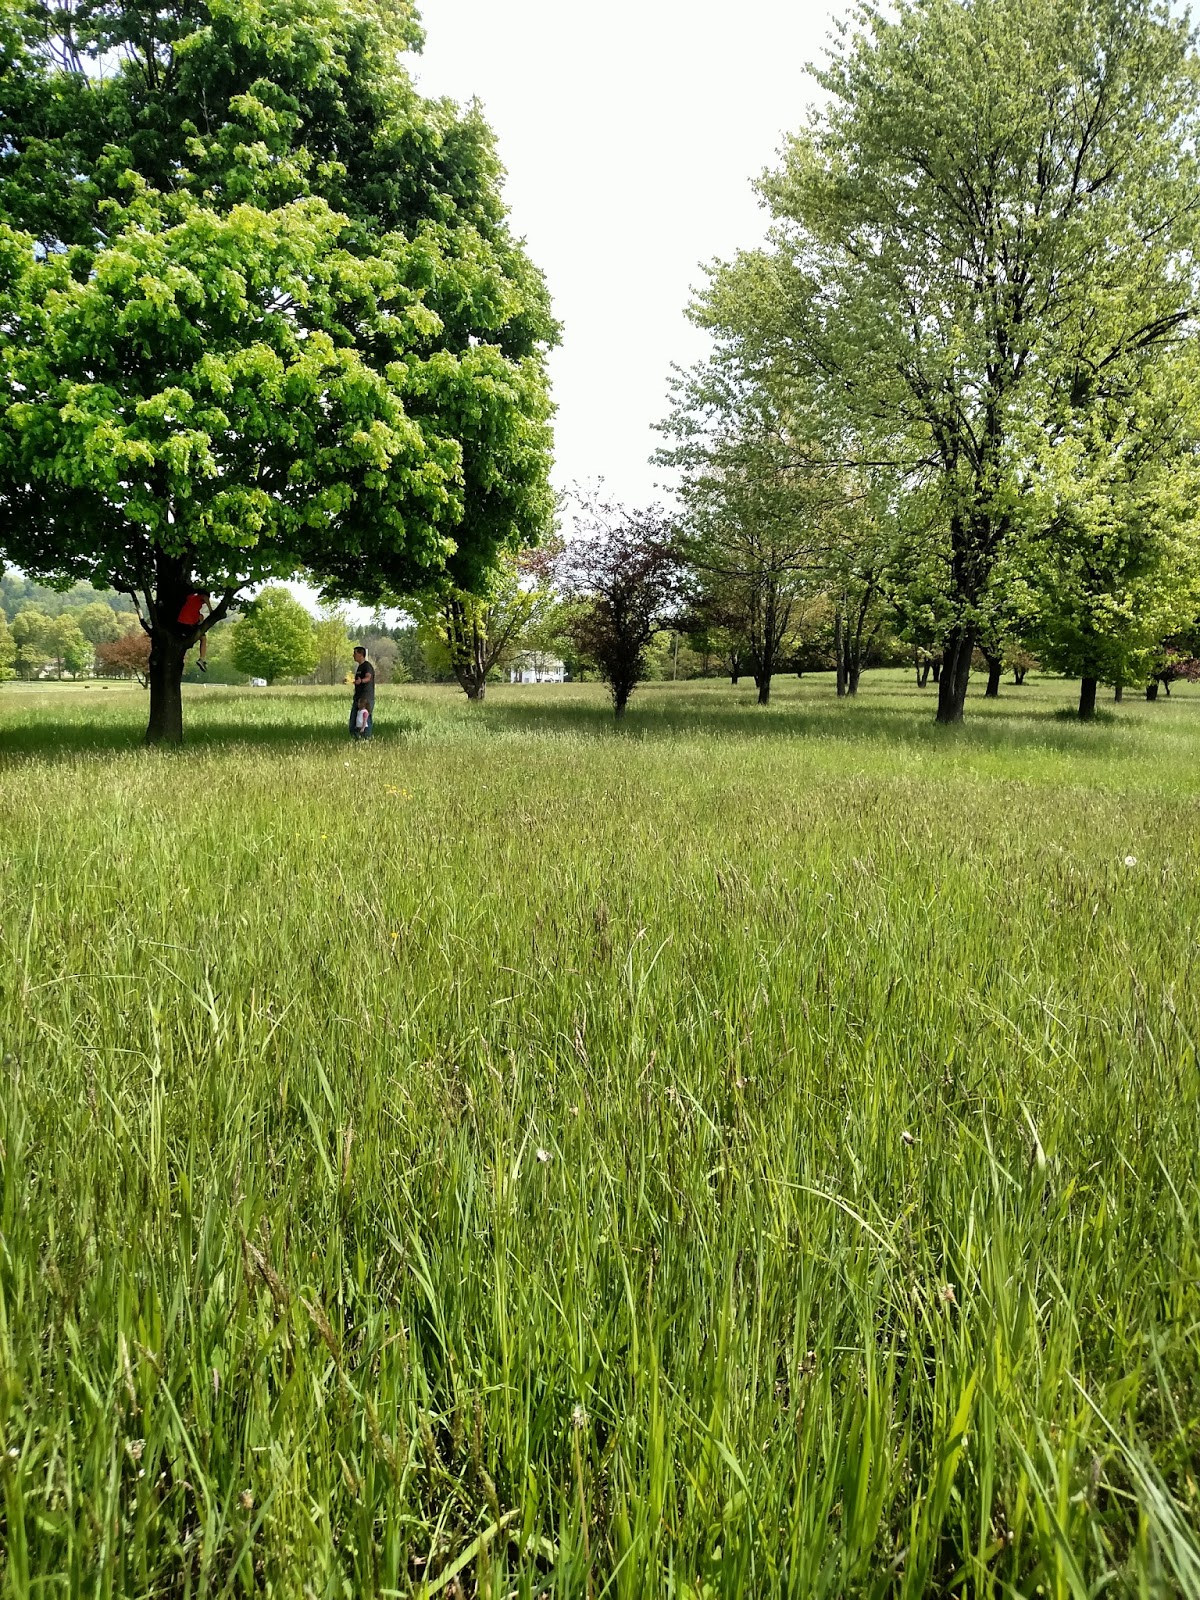
The Job Site
There is a nice open field less than a 1/2 mile from where we live. I figured that would be a nice open field to perform this task on.

The Process
We laid out the Frisbees, being careful to note the coordinates of the Frisbee locations. My youngest wanted to pick them up and move them, which would not be a problem for a typical survey crew. We then flew the drone over the site, trying to make sure that we got the Frisbees in as many shots as possible. Since my drone does not have the First Person View (FPV) capabilities, we had to just hope that we got them in the pictures, which we did pretty good. For some extra shots, I had my 7 year old, take some pictures with my cell phone.
My goal was to get as many shots as I could. ReCap has a limit of 250 photos per task. In our attempt we did not get nearly that many for two reasons. One my drone is so light, it gets pushed by the wind pretty severely, so it was hard to control it around the project site. The other reason is that my son, how is a pretty experienced drone pilot, flew the drone into a tree and got it stuck.
These two issue are examples of why a professional quality drone would be best for these tasks. With drones that have GPS capabilities, users have the ability to program a flight plan, and the drone will fly itself. Also, these drones can take measures to adjust to stronger winds.
In my next post, I will talk about the procedure to take the photos into ReCap 360 to generate a point cloud.
No comments:
Post a Comment